Getting Started!
As an Agent or Transaction Coordinator you’ll be able to quickly create a great looking disclosure package, collaborate on them with your team, and share information with interested buyer parties.
How It Works
How It's Done
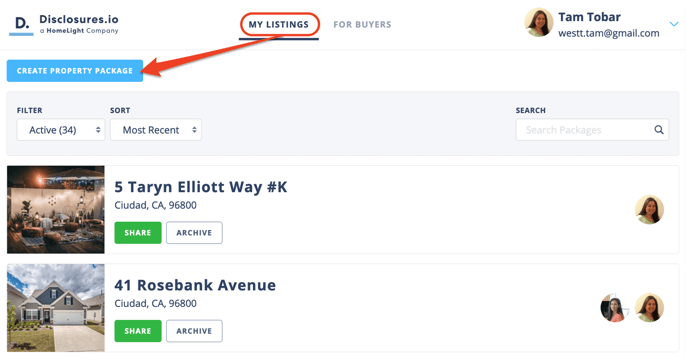
Step 1- Select the Create Property Button
This can be found at the top of the package list on the "My Listings" homepage.
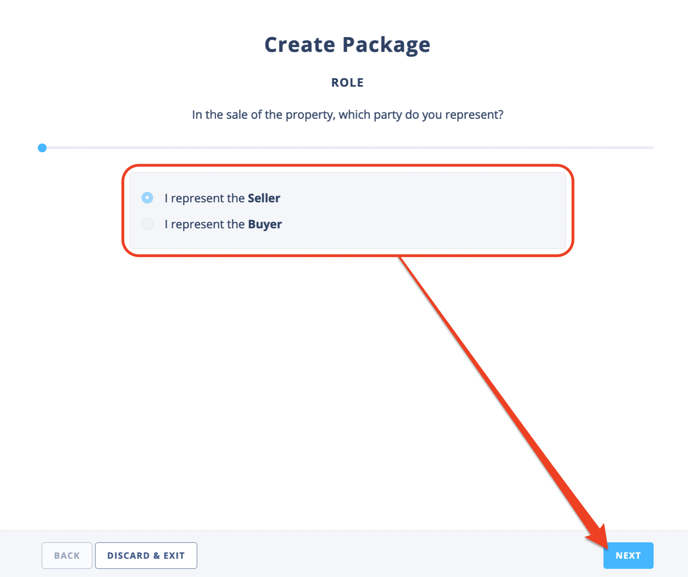
Step 2- Select The Role
You’ll need to indicate which side of the transaction you represent. If a listing agent is not using HomeLight Listing Management to share their property information, you’ll be able to create a buyer side package to share with your buyer clients.
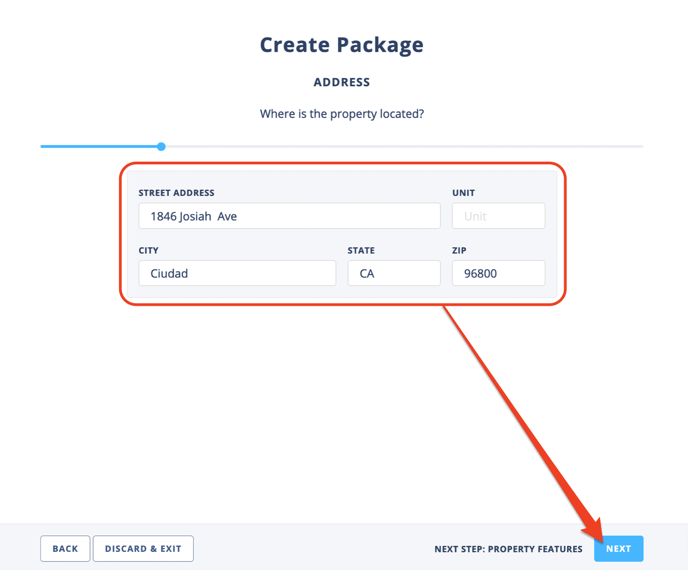
Step 3- Enter the Address
HLM software will auto-suggest addresses based on your location, however, you can manually enter the property address if needed.
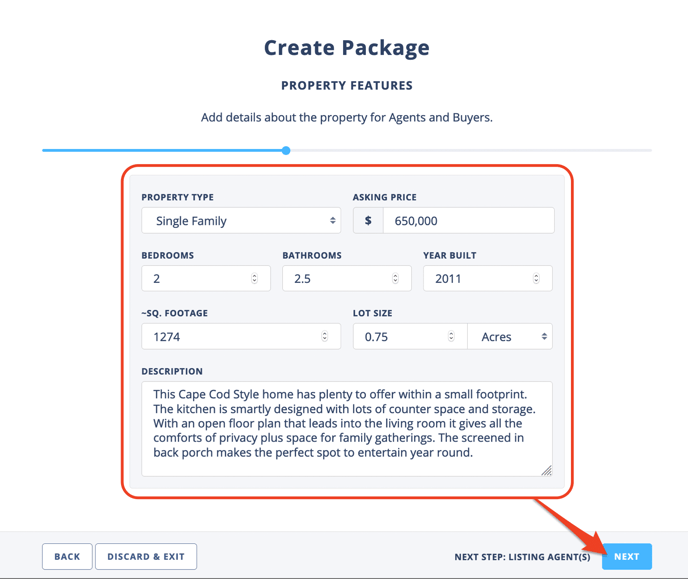
Step 4- Add Property Information
This allows interested buyer parties to quickly reference the top-level details for your property. Some buyers don’t have access to the MLS printouts or they’re looking at multiple properties; this is an optional step.
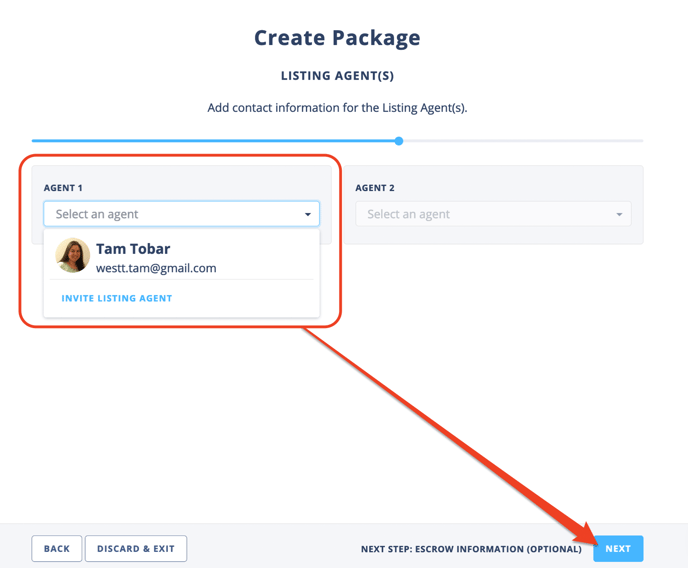
Step 5- Add the Listing Agent Information
Select the dropdown option under Agent 1 to invite the listing agent to the package. At least one agent must be added to the package to continue. This can be updated in the coversheet at a later time if needed.
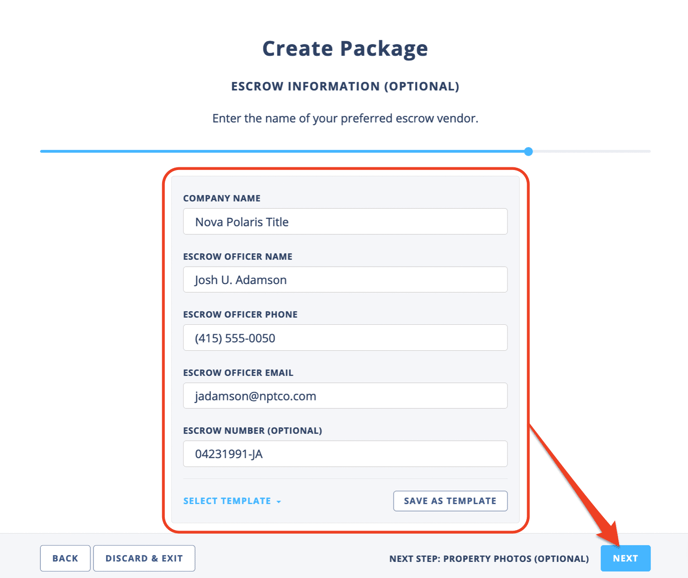
Step 6- Add Escrow Information
Enter the pre-sale escrow information. The option to save and select a template is available to all HLM users. This information is optional and can be updated in package or on the coversheet at a later time if needed.
Step 7- Upload Photos
Adding images to your property package also allows buyers to get a visual of your listing. The first image will be included on PDF exports of the property packet and used as the first image seen by potential buyers on the registration page. This is an optional step.

What’s Next?
Your property package is now created! There will be an option to order an NHD Report and have it delivered directly to your property package. As well as an option to invite your seller's to complete documents like the TDS, SPQ, and Residential Earthquake Hazards Report online. These are optional. For more information check out these help articles.
🔎How to order a NHD Report
🔎Getting Started with Form Filling
You ready for you to add documents and reports. The Coversheet is automatically generated for you and as you add PDFs to the package a Table of Contents is generated for you. 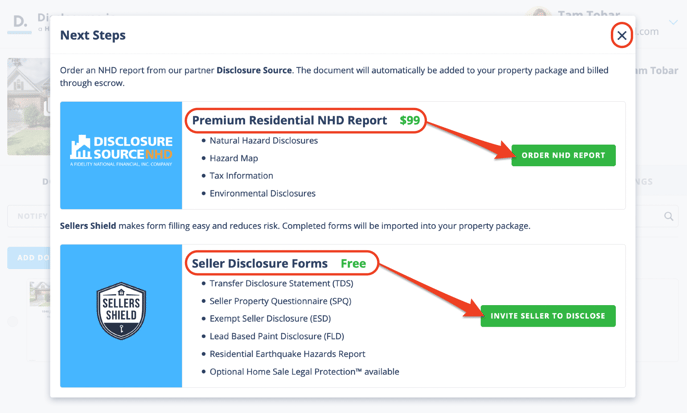
FAQ
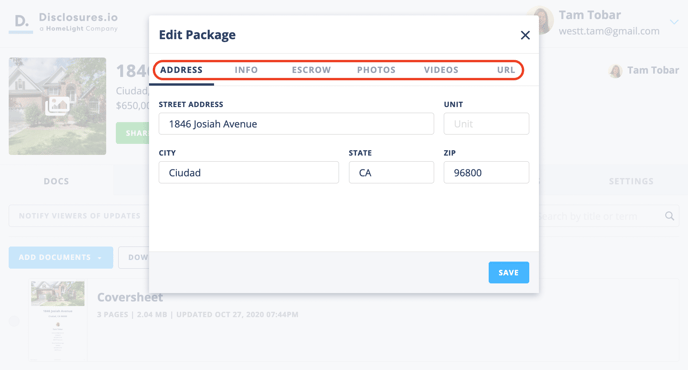
Q: How do I edit the property information?
- A: Property information can be updated at any time by selecting the “Edit Property Info” button on the left side of the screen.
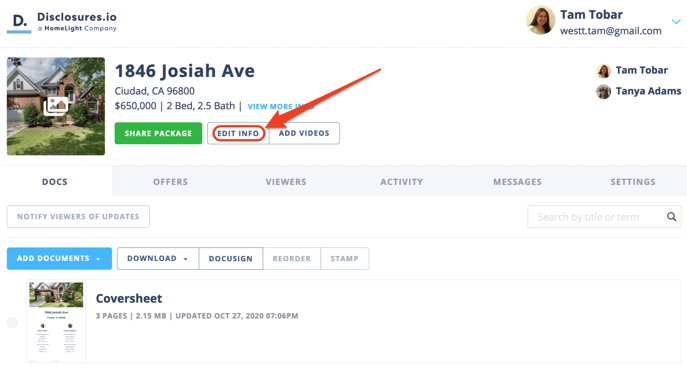
Then selecting the corresponding tabs for the address, information, escrow, photos, videos, and external URL.
Q: How do I add documents to my property package?
- A: Above the coversheet there is an “Add Document” button. When you select this, you’ll be able to choose how you’d like to upload a document to your package. Documents must be saved as PDFs in order to be uploaded.
For more information check out this article: Add Documents to Your Property Package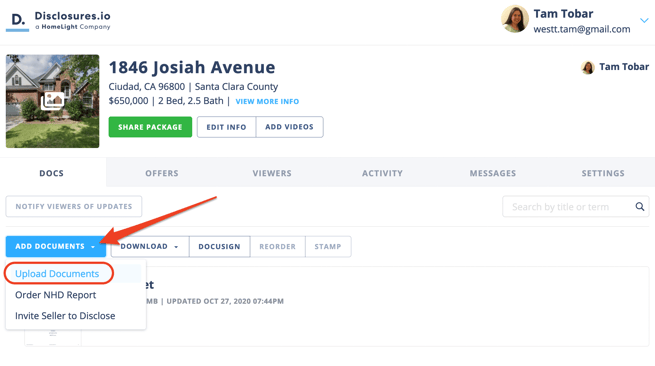
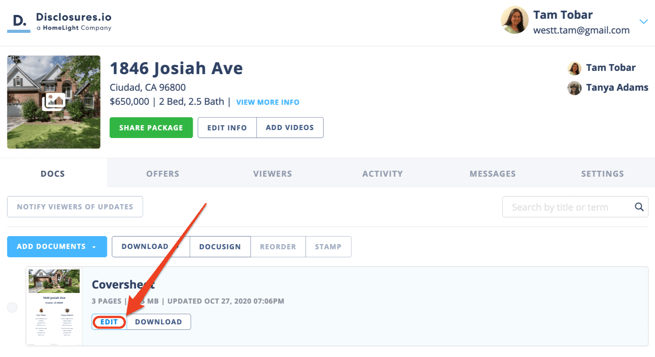
Q: How do I customize my coversheet?
- A: If you hover over the coversheet, an “Edit” button will appear. Clicking on that will allow you to customize your coversheet.
For more information check out this article: How to Edit Your Coversheet