As a Listing Agent or a Transaction Coordinator, once you have uploaded a document to your HLM listing package, you may want to edit the document. With the annotate feature you’ll be able to complete the following:
- Place a stamp on a specific page of a document
- Add a note to a document
- Highlight important information
- Redact sensitive information
Pick a Page for Stamping
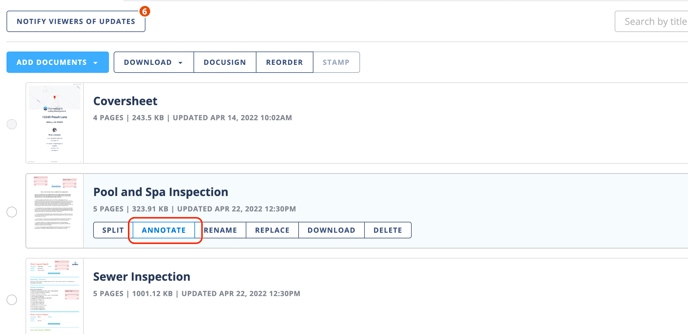
- Step 1- Select the Annotate option.
- Step 2- Chose the stamp feature on the left hand side of the screen.
- Step 3- Place the stamp on the page.
- Step 4- To edit the text fields on a stamp click on the stamp once and a template will be available on the right hand side of the screen.
- Step 5- When all stamps have been added use the save button in the top left-hand corner to save the changes.
Adding a Note and Highlighting Information
- Step 1- Select the Stamp and Annotate option.
- Step 2- Choose the “Add Text” option on the left-hand side of the screen.
- Step 3- Place the text box on the page and edit the text on the right-hand side of the page.
- Step 4- To highlight text select the highlight option on the left-hand side of the screen and click then drag your cursor over the text to be highlighted.
- Step 5- When all text boxes have been added and highlighting is complete, use the save button in the top left-hand corner to save the changes.
Redacting Private Information
- Step 1- Select the Stamp and Annotate option.
- Step 2- Choose the “Redact Private Info” option on the left-hand side of the screen.
- Step 3- Click then drag your cursor over the text to be redacted.
- Step 4- When all sensitive information has been redacted use the save button in the top left-hand corner to save the changes.
What’s next?
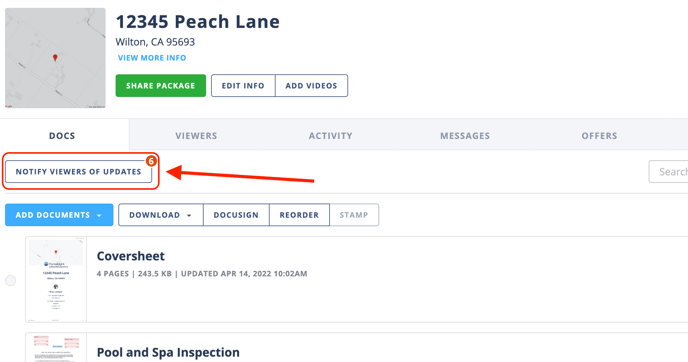
If you've already invited others to the package, you will have the option to Save and Notify, which will send a notification to those that you have shared the package with.
FAQ:
Q: How do I add a stamp and have the page numbers auto counted?
- A: To add a stamp to the first page of a document and have the pages auto counted you'll want to first select the documents, then use the stamp option that appears above the coversheet.
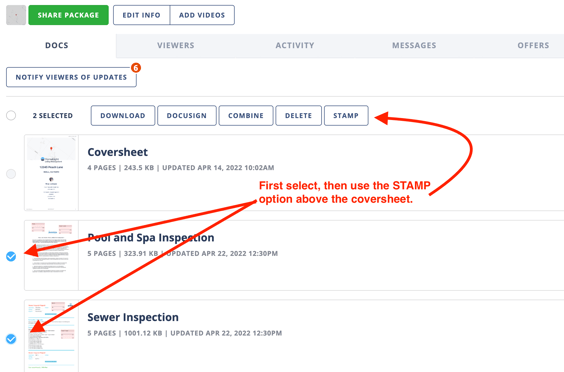
Then follow the next indications. As you'll see from the example below, the stamp will appear with an auto-count of number of document pages.

Q: Can I place more than one stamp on a document?
- A: Yes. After adding a stamp simply select the stamp option again to add a second stamp. The fields for these stamps will need to be customized for each new stamp added.
Q: Can I add a stamp to a different page?
- A: Yes, simply scroll to the page that needs a stamp or use the “go to page” option in the top left-hand corner.
Q: If I replace a document do I have to edit it again?
- A: Yes. Replacing the document will not keep any of the stamps, notes, highlights, or redactions made to the old document.
Q: Can I remove edits I made to the document?
- A: We currently don’t have a feature to remove the edits. To remove a stamp you can select the “replace” option and upload a fresh version of the document back to your package.